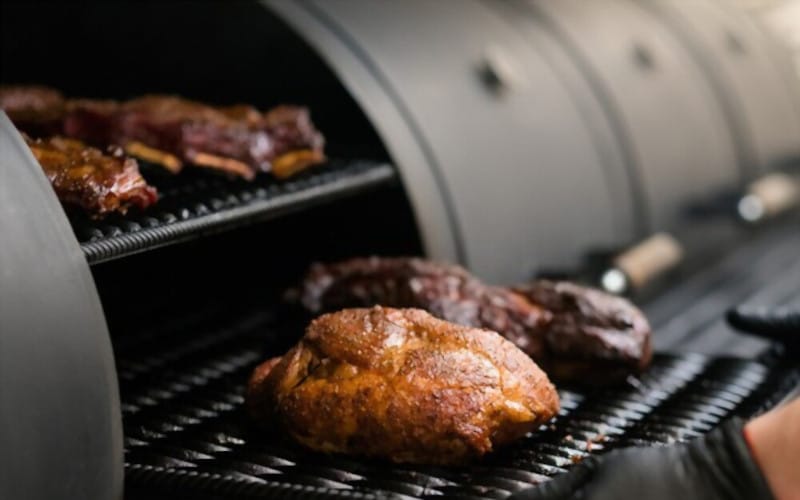
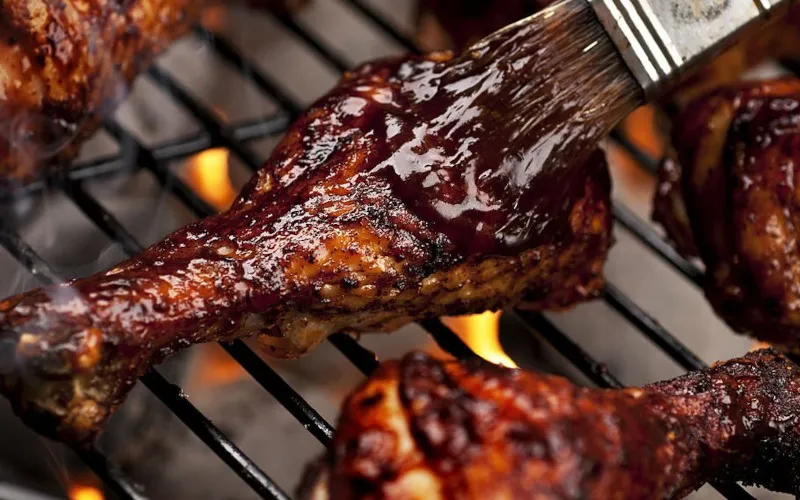
Smoking ribs in an electric smoker is easy to do with this step-by-step guide. We will walk you through the process of smoking St Louis-style ribs using your very own electric smoker. You can use any type of meat, but for today’s lesson, we are making St Louis Style Ribs.
Let’s get started!
Step 1: Gather Your Supplies
- An electric smoker
- St Louis style spare ribs (uncooked)
- Apple wood chips or chunks
- Your favorite dry rub and some BBQ sauce
Step 2: Prep the Electric Smoker
Prepare your electric smoker for a temperature between 225° to 250° Fahrenheit. We prefer 240° personally, but it doesn’t matter which you choose as long as you have a consistent cooking temperature throughout the duration of this process.
You will need to add wood chips or chunks every hour if not more often. We used a mix of apple and hickory wood chips for this smoke, but you should use whatever your preference is or whatever you have available.
Once the electric smoker is ready to go place the ribs inside on the top rack with the fat side down first.
Step 3: Prep the Ribs
Take out the St Louis ribs and remove them from the packaging they came in. Remove any paper, cling wrap, etc. If you are cooking more than one pack of ribs place each pack on a wire rack so that air can circulate around all sides to help dry off excess moisture
Step 4: Apply Dry Rub Seasoning to Ribs
Apply an even coating of your favorite dry rub seasoning over all sides of the ribs. Apply it as evenly as possible, but don’t worry too much about patting off any excess or brushing away loose particles.
Step 5: Place Ribs in Smoker
Place the St Louis ribs on the top rack down fat side up with meaty side touching grate surface first. This allows the meat to cook evenly.
Step 6: Smoke Ribs for Four Hours
Once your smoker is up to temperature and you have placed the ribs inside, set a timer for four hours. We usually check the meat every hour after that mark just to make sure it’s cooking as expected and not drying out too much or falling off of the bone early.
If things are going well, you can check them every two hours after the initial four-hour mark.
Step 7: Apply BBQ Sauce to Ribs
Once your ribs have smoked for about six total hours, apply an even coating of your favorite barbecue sauce over all sides of the meaty part (not the bone side).
Apply the BBQ sauce as evenly as possible and then place it back in the smoker for about another hour or until your ribs reach an internal temperature of around 200° to 205° Fahrenheit (give or take a few degrees).
Step 8: Remove Ribs from Smoker, Let Rest and Cut into Individual Slabs
Remove ribs from the smoker and let rest for about 15 minutes before cutting into individual slabs. This allows the meat to re-settle, cool slightly, and also absorb some of that BBQ sauce flavor.
Once they’ve rested, cut them into individual racks (or pieces) by slicing through the bones in between each slab. We like doing this because it’s easier to handle and makes for a better presentation.
Step 9: Serve!
Serve your ribs with whatever sides you prefer, but we recommend coleslaw or potato salad as the perfect complement to these St Louis-style smoked ribs.
Frequently Asked Questions
Can You Overcook St Louis Ribs?
Absolutely! If you cook them for too long, they will be dry and tough. The key to delicious St Louis style ribs is to use tender meat with just the right amount of fat that melts into juicy ribbons that are dripping down your chin by the time you finish eating them. You can also serve these smoked St Louis style ribs as a main course for dinner.
How Long Do You Smoke Spare Ribs at 250?
The average temperature of 250 degrees Fahrenheit will get your ribs ready in about 4-5 hours on the grill or smoker. When you pull them off, there should only be tender enough meat left behind for handling but not so much as to tear apart easily with two hands.
How Do I Keep My Ribs From Drying Out When I Smoke?
This is typically a problem when smoking ribs in an electric smoker. The temperature isn’t high enough to produce smoke, therefore you will need additional measures to keep the meat moist while it cooks for several hours over low heat.
One way I like to do this is by wrapping my ribs in foil halfway through cooking time and basting them every 30 minutes. We also take the ribs out of the smoker for a few minutes about an hour before they are done cooking, coat them with BBQ sauce and put them back in to absorb more flavor.
Should You Wrap Meat in Foil When Smoking?
No, you should not wrap meat in foil when smoking. The main reason why we don’t recommend wrapping meat in foil is because the smoke will not penetrate the food and it won’t taste as good as if you wouldn’t have wrapped it at all.
That said, there are a few times when you might want to wrap your ribs (or other meat) in foil. For example, if you have a tendency to overcook your ribs and they are always dry when finished smoking them, wrapping them in foil for half of the cooking process can help make sure that they don’t turn out over cooked.
What Do You Spray Meat With When Smoking?
In order to make your meat taste delicious, you want it to be moist and tender. In order for this happen, the simplest way is by spraying or brushing with a liquid of some sort.
You can use apple juice, other fruit juices (grapefruit), wine, beer, water or even stock made from bones if desired. The liquid you choose should be fully absorbed and make the meat moist.
Do You Smoke Ribs Bone Up or Down?
Smoking ribs with the bones down helps keep them together, making it easier to move around when they are done cooking without pulling the meat off the bone. It also makes for a more presentable presentation on a plate or tray at your next barbecue party.
So whatever you do while preparing St Louis style baby back ribs in an electric smoker, don’t forget to use your favorite barbecue rub and sauce before you smoke them.
Conclusion
Hopefully, you will enjoy your smoked ribs as much as we did, and that this guide was helpful in some way. If there is anything that needs clarification or if something seems unclear, please let us know.
Also don’t forget to leave a comment below with any feedback including what worked for you, what didn’t work, any changes you made, or anything else!
