Many people enjoy grilling meats, especially during the summer. One of the most popular types of meat that people grill is hamburgers. Grilled burgers can be a fun and delicious meal for your family and friends to share and enjoy.
However, it can be difficult to know how long to cook frozen burgers on the grill.
If you are not sure how long to grill frozen burgers, then this blog post will provide 7 simple steps for getting perfect grilled hamburger patties every time.
Step 1: Plan Ahead
The first step for learning how long to grill frozen burgers is planning ahead. Plan on about ½ pound of burger per person and remember that they will shrink as they cook.
If you are serving more than four people, then plan on cooking one or two additional patties so everyone can have one.
Step 2: Preheat the Grill
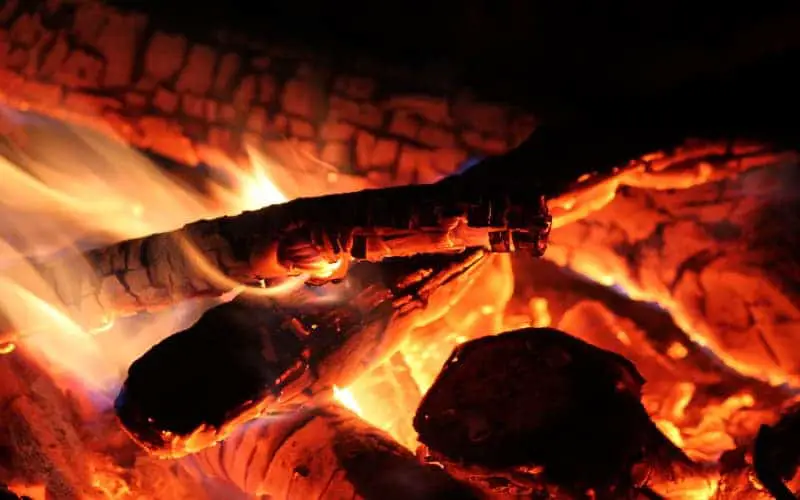
When you are ready to grill your frozen burgers, start by preheating your grill or smoker. You want it hot enough that there is a red glow from the heat source and some white ash on any pieces of charcoal still lit.
If using a gas grill, turn all burners onto high for about ten minutes until they are hot. If using a charcoal grill, wait until the coals are white and ash-covered before you place your burgers on the rack.
In order to check if your grill is hot enough, use a pair of tongs to place a few drops of water on the grates. If you see the drops boiling, then your grill is ready for cooking.
Step 3: Choose Your Frozen Burger Size
The next step in how long to grill frozen burgers is choosing what size of a burger patty that you want to cook. Whether it be a quarter-pound or half-pound, you will want to select the size of a burger patty that your family enjoys.
However, bear in mind that larger burgers take longer to cook than smaller ones because there is more raw surface area over the heat source and they need time for all parts of the meat to reach a safe temperature.
Grab your burger patty with the tongs you used to check the grill temperature, and place it directly onto the cutting board.
The patties should be cold enough that they will not stick once placed down. You can test this by lightly pressing one of the corners with your tongs. If it falls back into place, then you are good to go.
Step 4: Prepare Your Frozen Burger Patties
After you have determined what size burger patty to cook, it is time to prep your frozen burgers. Before placing them on the grill rack, make sure that there are no ice crystals or frost remaining on the patties and if any part of the meat has thawed out since freezing.
Remove the frozen burgers from their packaging and let them sit for a few minutes. This will allow some of the moisture to thaw on the outside of each burger patty. If you do not take this step, then it can result in uneven cooking or even burning due to excess heat that is not able to escape through the frozen patty.
This will help ensure that your freezer burn does not affect the taste of your grilled burgers.
Step 5: Place Your Burgers on the Grill Rack
Make sure to place each frozen burger on its own separate rack or directly over the heat source if using a charcoal grill. Do not stack multiple patties together when cooking them because this can cause uneven cooking and may result in burnt or overcooked frozen burgers.
Close the lid of the grill tightly. Let them cook for a few minutes before opening up your grill. You do not want too much heat escaping at once or it will take longer for the burgers to fully thaw, resulting in cold hamburgers.
Step 6: Cook Your Burgers on the Grill
After a few minutes, open your grill and flip the burgers over with tongs or spatula. Close the lid again tightly to allow them to finish cooking on both sides of each burger patty.
If you do not let the heat escape through the top while they are finishing up, then it can result in burning the outside of your burger patties.
Most people cook their frozen hamburgers for about 15 to 25 minutes, depending on how well you like your meats cooked and at what temperature. Keep a close eye on them because if they are not flipped over mid-way through cooking, then one side will usually cook more than the other.
Check to see if each patty is fully cooked by inserting a meat thermometer into the center of one side. Do not let it touch any bones or fat, which will cause an inaccurate reading on how well done your burgers are.
If you have a heavy-duty grill brush, you can also use it to gently press down on the top of each burger patty after they have been flipped. If it feels soft and gives easily when pressed, then this means that your burgers are ready.
Step 7: Remove Your Burgers from the Grill and Serve
Once you are satisfied with how well your frozen burgers have cooked, it is time to remove them from the grill or smoker.
Once fully cooked through, remove from heat, place onto a platter or plate, and let rest for a few minutes. This will allow the juices to redistribute throughout each patty, resulting in juicy and delicious hamburgers.
Enjoy your perfect grilled burgers with friends or family. You can also use any leftover patties as an ingredient inside of sandwiches, salads, tacos, quesadillas, or even a burger salad.
Conclusion
After reading the 7 steps for grilling frozen hamburger patties, you should be able to cook them right away. However, it is always wise to take a moment and read through these tips again before heading back outside with your grill tools in hand.
You can also print off this blog post or bookmark it on your phone so that you will not forget any of the important cooking instructions.